Search

Powered by Blogger.

Networked Blogs

Showing posts with label wire wrapped. Show all posts

Sunday, December 30, 2012

Top 10 Posts of 2012


It's that time!  Time to reflect on the past year.  Since I just started this blog a little over 3 months ago, I don't have a whole lot of posts, but there have been over 100 of them.  I thought I'd do a recap of the most popular ones.  Click on the title of each numbered post to see the original. 

Four recipes that were made to go straight from the freezer into either the crock pot or to place directly on the grill.  Recipes included Mango Chipotle Chicken, Smothered Pork Chops, Beef Tips, and Pepper Steak. 

Directions on how to use Sharpie markers and plain white mugs or dishes from the dollar store to make gifts.  Decorate and bake at 350 degrees for 30 minutes. 

This was a guest post written by my friend, Kasie Robinson, who is a fellow transcriptionist and jewelry maker.  Check out her awesome story and recipe, and then cruise on over to her Artfire shop HERE for some darling earrings.  

Make a tasty, exotic-tasting meal with simple ingredients from your cupboards.  This recipe features that ever-popular food Ramen noodles but is dressed up in a way that is satisfying to both your taste buds and your pocketbook. 

A list of hints and helps for turning your own recipes into freezer-to-crock pot meals.  

Tips, tricks, and thoughts about saving on groceries that do not normally go on sale or have coupons readily available. 

Want to cook all your food at once but don't want the flavors to mix?  Foil packets for the crock pot may be the answer.  Just wrap up your items, seal in foil, and place in the crock pot!

Use a dollar store glass pebble, wire, and some pliers to make a beautiful, unique, and simple gift. 

This is a recipe for the crock pot that is basically chicken chili but uses chili ingredients rather than the usual white sauce that's associated with chicken dishes. 

This is a tutorial for how to make a glue-on bail that turns almost any object into a pendant for a necklace.  Simple, easy, and very pretty! 

There they are!  The most popular posts for 2012.  Thank you to all my readers who have made this adventure so much fun.  I look forward to seeing what 2013 has to bring!


Monday, November 12, 2012

Wire Wrapped Glass Pebble Pendant - Easy Christmas Gift


Wire wrapped glass pendants are a fun and easy gift you can make with relatively inexpensive items.  The sloppier the design, the prettier it is, and despite how complicated they look, they're really easy to make.  They make beautiful gifts, and you can whip them out in just a few minutes once you get the hang of this.  

I'll give a list of items below, and then try to show step-by-step how it's done.  The only part I do not have pictures of is the actual placement of the wires simply because I needed two hands to hold everything in place and couldn't really take photos.  So here we go! 


Materials Needed 
**or **
  • Needle-nose pliers (may need to wrap the tips with tape if using on jewelry wire so the wire doesn't get scarred)
  • Wire Snips 
  • Tweezers 
  • Necklace chain, silk cord, leather cord, or ribbon, about 24 inches in length.
INSTRUCTIONS (Click on Photos for Larger views):
Cut two lengths of wire approximately 1 foot long.
Begin bending them in a loopy zigzag pattern, leaving tails on either end.  


(Photos show loopy wire and sizes of glass pebbles. )


Lay wires in a cross pattern, and center one pebble in the middle. 

This is the trickiest part of this whole thing, but it will be fine. The glass can be slippery!  

Begin folding the wires up and over the pebble, overlapping the wires, bending and smooshing them together.  The wires need to be enmeshed.  Form a cage around the stone.  Grab the pliers or tweezers and bend the wires around each other.  For example, bring a loop up through another and then bend it back over.  Leave two wires long at the top for use to make the bail later on.  If needed, use the loose ends for the bottom and side pieces to loop back through or snip off and use elsewhere.  Curl the ends of any loose wires, and tuck them in against the glass.  

Cut short lengths of wire from the spool and use to bridge a gap between two loops of wire if there is a space where the glass could "escape."  Again, curl the ends under, then twist the wire and tuck it snug against the glass (see photo below).  The piece is sticking out so that you could see how I passed the short wire piece between the two.  I curled it further and tucked in the pieces.

Once the wire is shaped around the glass the way that you like, it's time to make the bail at the top of the pendant.  

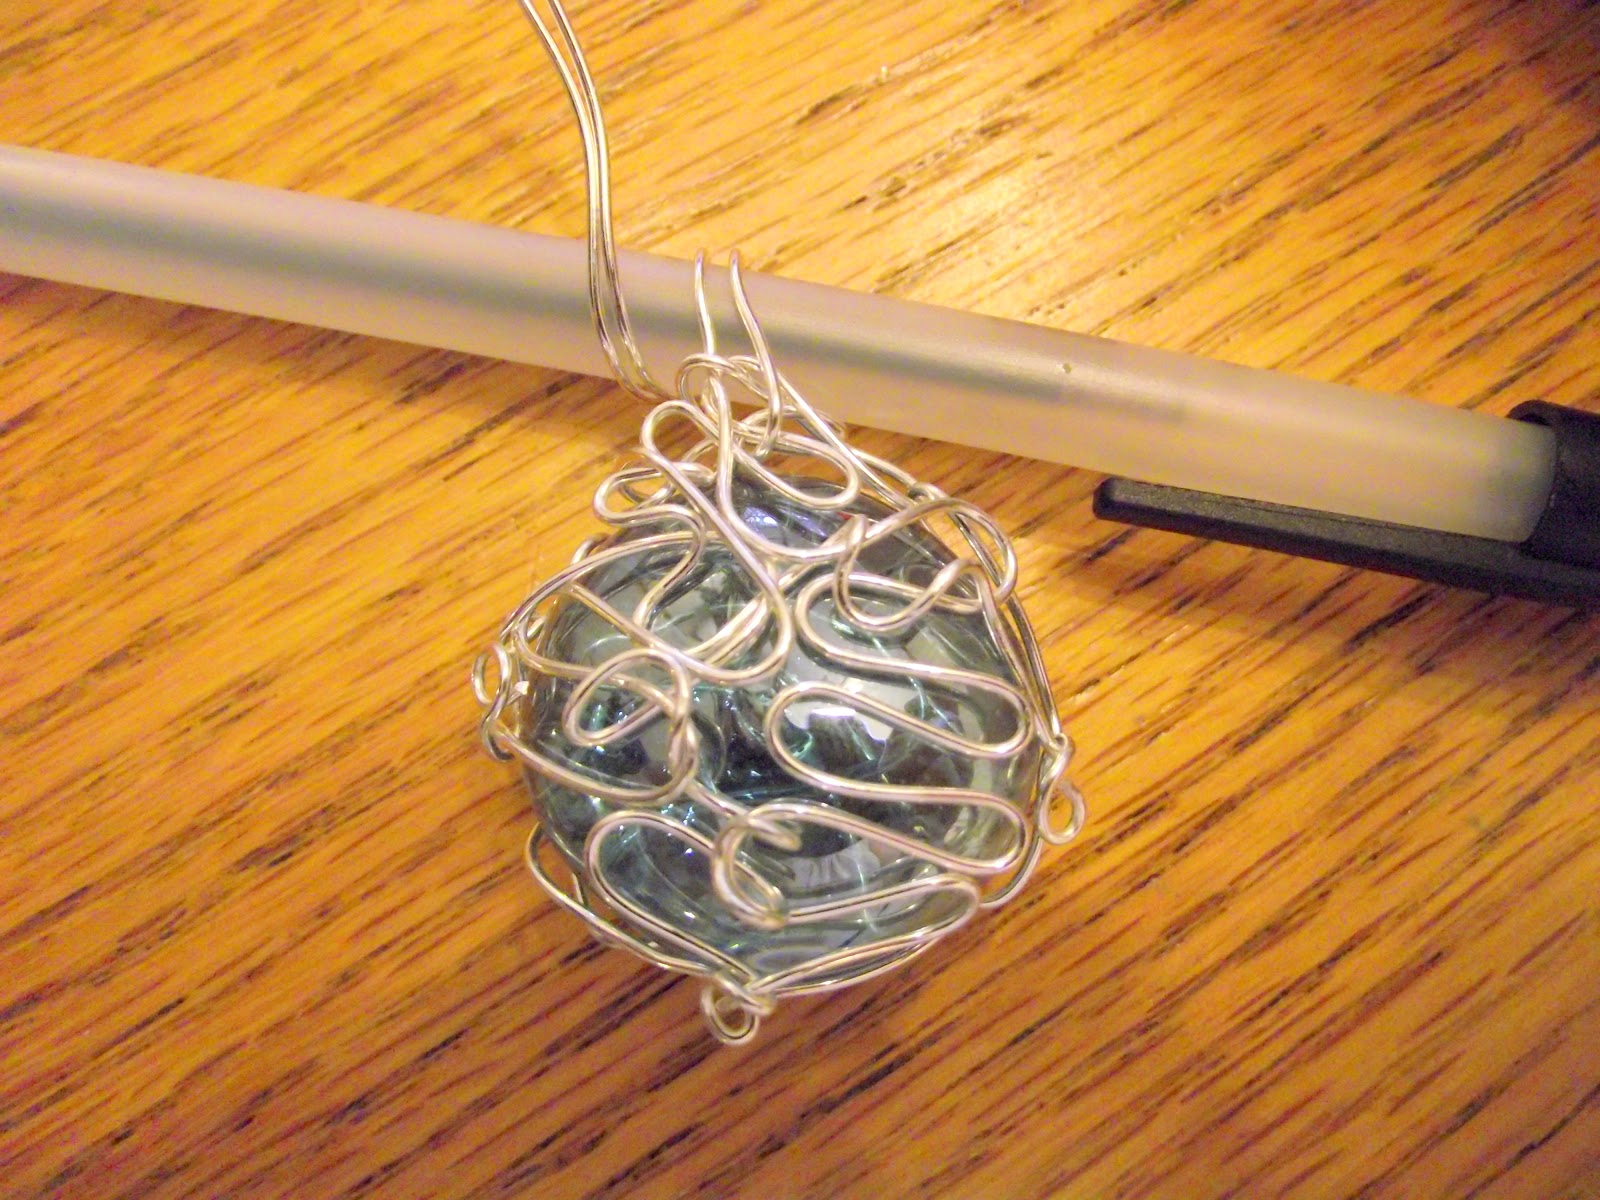
I used a ball-point pen and wrapped the two wires around it one full wrap.  I have exaggerated how the wires come off this so that you can see how they come back around.  You'll want the wire to be as close to the base as possible.  


With the pen still inside the wire loop, begin wrapping the two wires around the base in a concentric spiral fashion until all of the remaining wire has been used.  Curl ends of wire and tuck under the bottom of the bail.  Straighten and center bail as necessary. 

This doesn't have to be neat, just so long as it is held securely. 

If you feel this needs a little more security for the glass, use tiny dabs of E6000 glue on a toothpick.  Place it between the wire and the glass. A little E6000 goes a very long way.  Allow to dry/cure for approximately 24 hours before wearing.  

Another way to "tighten" wires is to put the pliers (or tweezers) in the middle of a piece of wire and twist slightly to form a crook.  See before and after photos below.  This takes up any excess slack in the wire and lends an artistic appearance. 

Suspend this from a chain, ribbon, silk cord, or strip of leather tied off.  These are very pretty, unique, and no two are alike.  

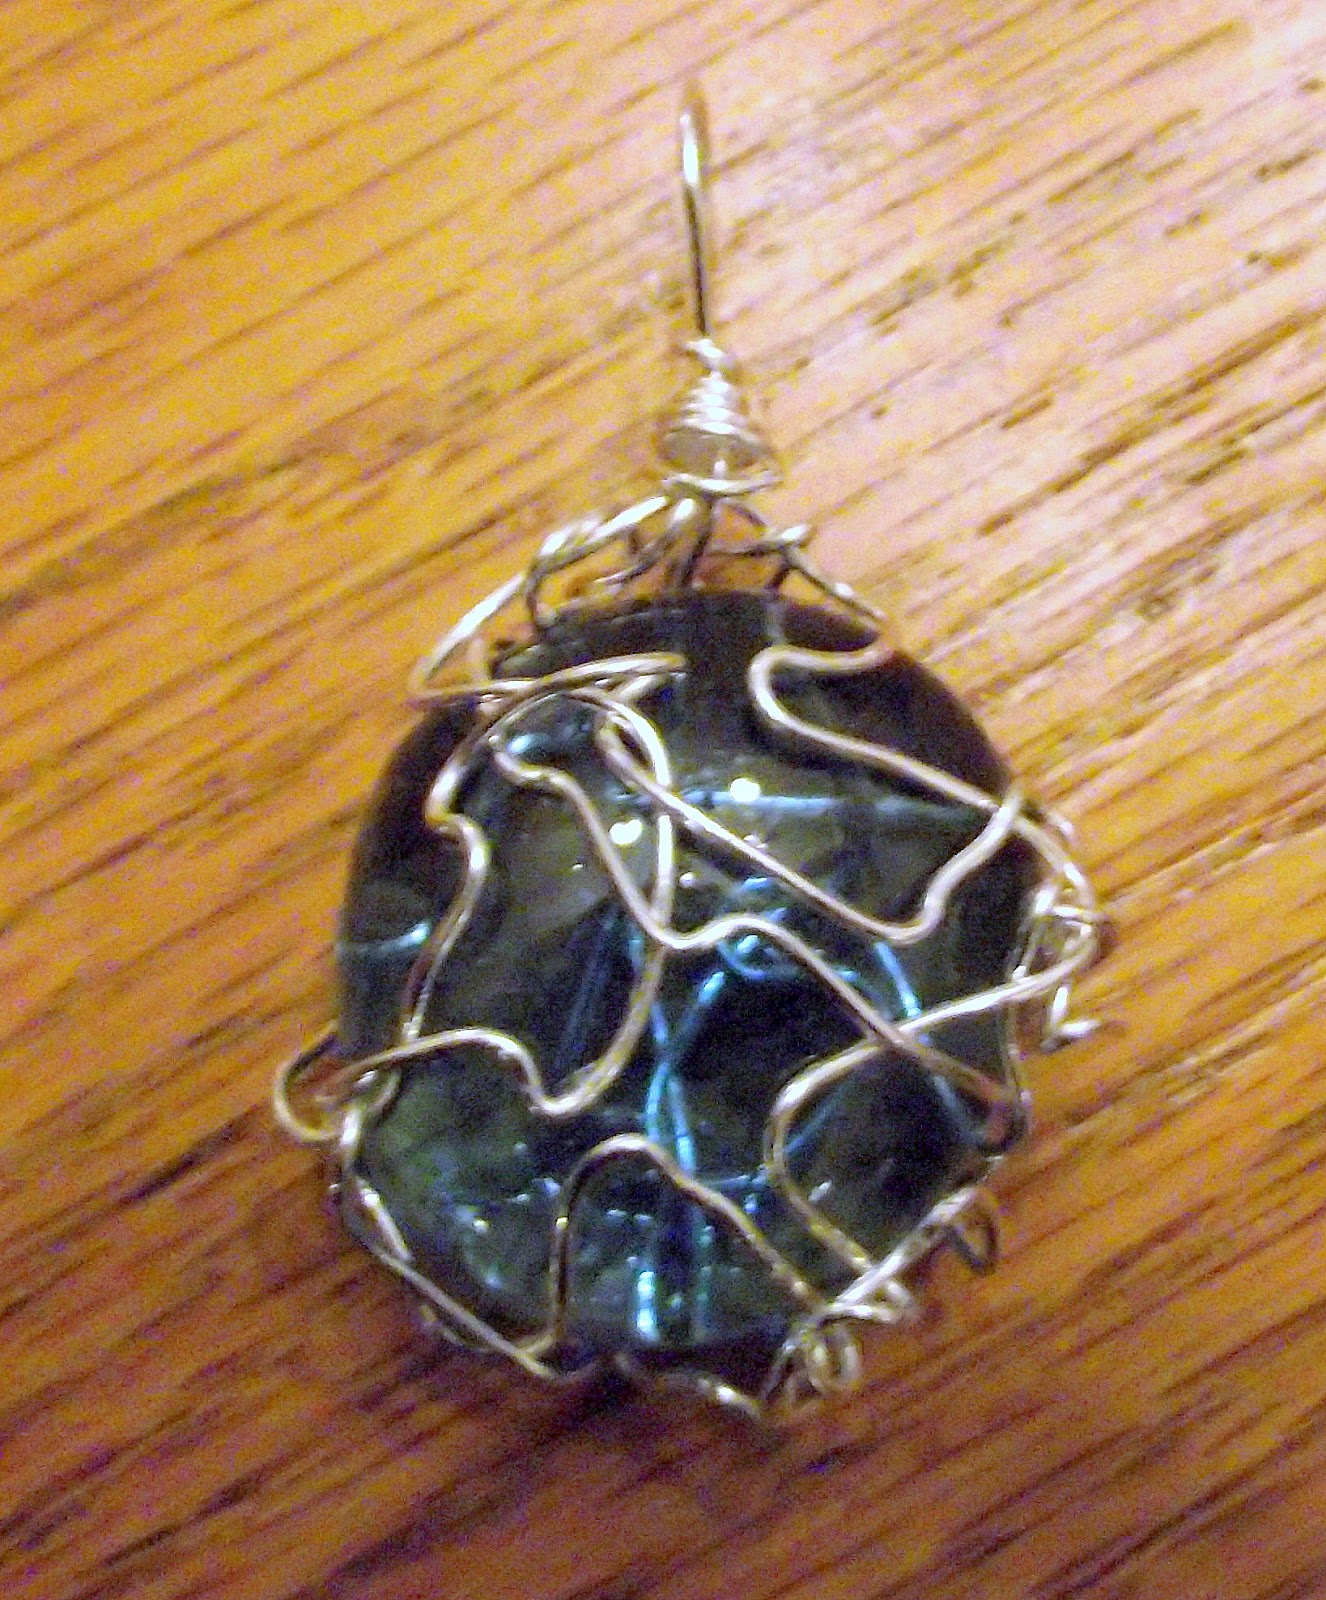
Here is another pendant that I made using one strip of wire in the zigzag pattern, then wrapped around the glass pebble.   It has a single-loop bail.  I made it, thought that it needed a little bit more umph, and put some artistic crooks in the wire with the tightening technique I talked about above.

ONE FINAL NOTE:   You will always be your own worst critic, so do not be overly critical of your design.  If you feel like it doesn't look good, put it away for a day or so, and then look at it again or show someone else to gauge their opinion.  You can always add more wire or bend the wires in a different way that is more pleasing.  Remember, have fun, and don't be afraid to ad lib!

That's it!!