


My eldest brother was a stylist and cosmetologist. When he was still alive, he frequently did fashion shows and passed on quick-fix ideas to me. He had to make people fabulous with only minutes to spare and developed techniques that he depended upon to make it happen. He passed these ideas on long ago, but I've found most of them to be rather timeless, and I've used them repeatedly to make my life easier.
This is one that I've passed on numerous times, and with the holidays coming up, it's time for me to post this one yet again. So here it is, the 15 minute Frump to Fab routine for when you MUST get out the door quickly and look fantastic.
Clothing:
- Crisp/starched white shirt that is on the longish side to come over hips; leave untucked (You can even snag one of hubby’s button-downs, but leave the collar unbuttoned; any other solid-colored shirt will do in a pinch.)
- If no white shirt, try a button-up shirt over a tank top or camisole. Leave the shirt unbuttoned.
- Dark jeans or pants (Boot cut or straight leg is preferable)
- Heels (any type; boots, high heeled sandals, or pumps)
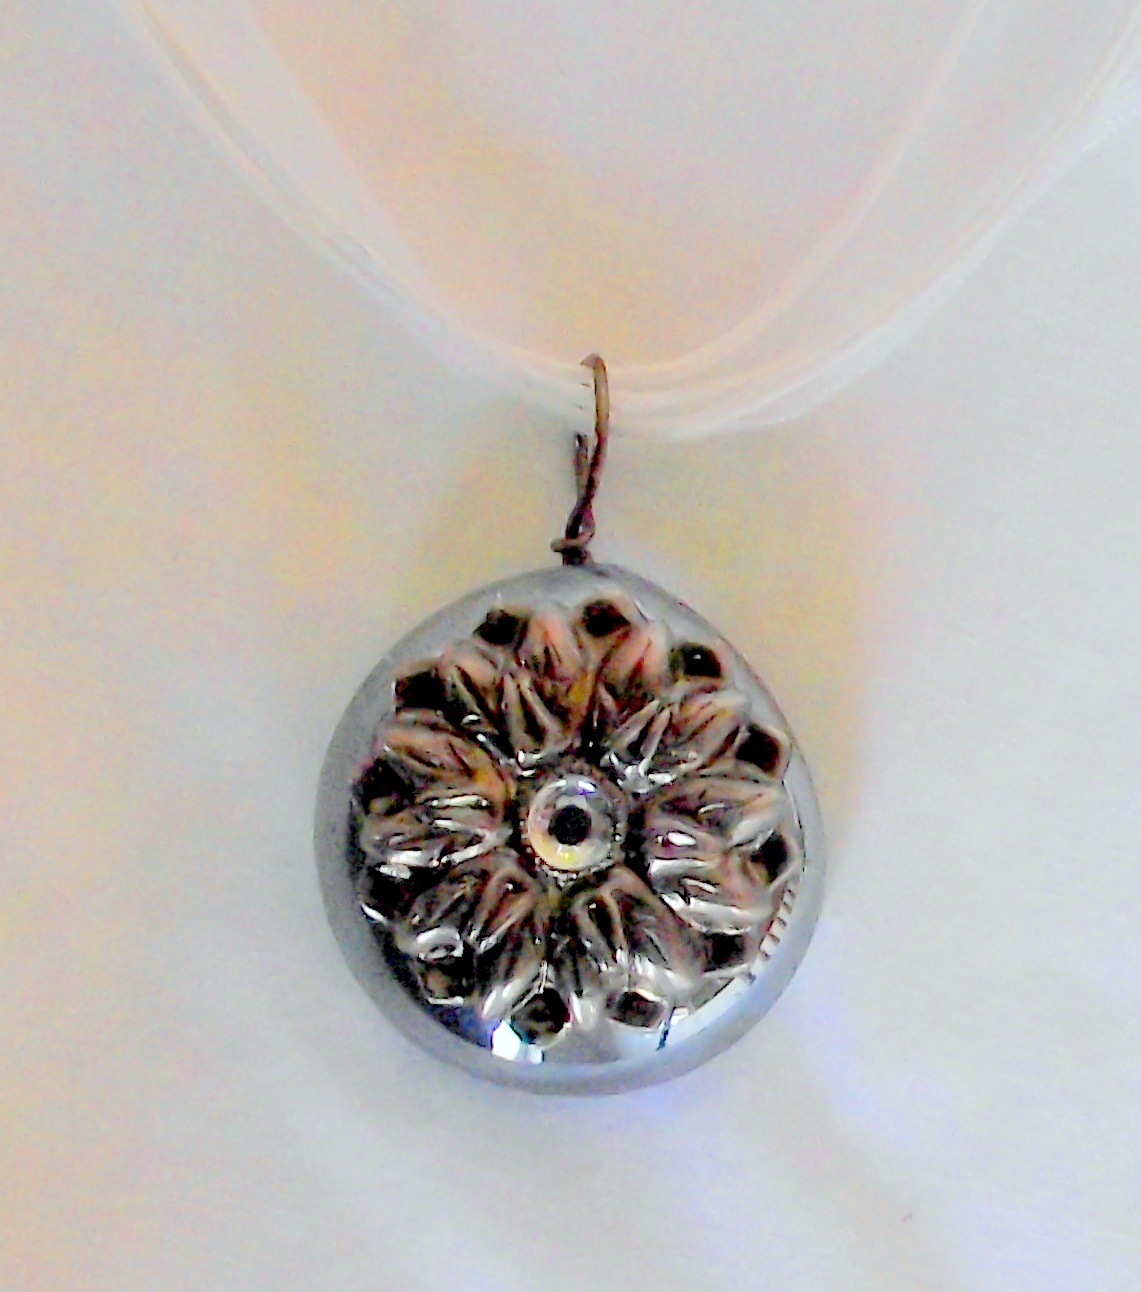
Jewelry:
- Chandelier/dangle/hoop earrings
- Delicate necklace to peek out of shirt at neckline or, conversely, very long, flamboyant necklace to wear outside of collar with more understated dangle/post earrings....or no necklace at all. Remember, less is more.
Hair:
- Piled up, sleeked back in a ponytail, or if not long enough for that, swept back away from the face with a headband or styled up and back away from the face.
- Tip: If your hair looks oily/greasy and you don't have time to shampoo try back combing near the hairline then spritzing with hair spray. Most hair looks dirty because it separates into strings. Back combing separates the strands and gives the illusion of fullness. Hairspray usually contains alcohol and will serve to dry out/mop up some of the oil.
Makeup: This is the
3-minute makeup routine. It assumes that
each item is the correct shade for your complexion and is of good quality. It doesn't have to be expensive. It just needs to be in good condition. You will need:
- Foundation/powder
- Blush
- Eyeliner (black or brown; brown for daytime, black for night)
- Mascara (black)
- Lip Gloss/tinted gloss (you can use a dot of sparkly eye shadow in the middle of the lower lip along with Vaseline or even Crisco in a pinch)
- If there is time, groom brows and shape them with a brow pencil or brow brush.
Makeup instructions:
Dot foundation on forehead, both cheeks, tip of nose and chin. Using both hands, blend over entire face,
including eyelids and under eyes. Now’s not the time to be delicate; you’re in
a hurry. If you’re prone to circles
under your eyes, use the slightly thickened foundation that is usually under
the cap for concealer. Lightly dust face
with powder, if needed. Next, apply blush
to apples of cheeks, then lightly sweep blush over brow bones, toward outer corner of eye. Line upper eye lids with liner at base of lashes and smudge
slightly. Line halfway under lower lid
or omit. Apply two coats of
mascara. Finish with lip gloss. This gives a fresh-faced look and can be
done in no time, but looks great.
Easy updo: Pull hair
up into a ponytail on top of head, and secure with an elastic band. Apply mousse, a little gel, or even hairspray
(in a pinch) to hair, even if it’s already dry.
Give it a short blast with a blow dryer if it’s still damp. Use a small-barrel curling iron or the
tiniest hot rollers you can find to make numerous curls. Then, finger fluff curls, and grab chunks and
pin into place around ponytail. If middle part is short, leave
curls to hang down in a cascade. If no curling iron available, finger curl
hair under in sections and pin in place around ponytail.
The reason why this works is that it is a rather timeless, classic look. A white or light-colored shirt over dark pants is elegant, simple, and chic. Leaving the shirt untucked covers any bumps, bulges, or things we'd rather hide, and gives a flowy look. Piling hair up, and then using dangly/hoop earrings draws the attention upward. If you use a long, flamboyant necklace, this elongates the look of the body and draws the eye up and down and provides a visually slimming effect. Dark pants hide any lumps or bumps, and with wearing the shirt out, it can cover a waist band that might not fit so well at the top and provides, again, a visually elongated appearance. The reason any heel works is that when we wear heels, we are forced to walk with our shoulders back, chest up, and head held up. You can't slump in heels! Our carriage and presentation can provide as much appeal as the rest of our appearance. Ever seen someone walk into a room and immediately draw attention? More than likely what attracted your attention is the way they carried and presented themselves, not necessarily flamboyant dress or makeup.... although some people have been known to draw a few gasps with a wild outfit!
The reason why this works is that it is a rather timeless, classic look. A white or light-colored shirt over dark pants is elegant, simple, and chic. Leaving the shirt untucked covers any bumps, bulges, or things we'd rather hide, and gives a flowy look. Piling hair up, and then using dangly/hoop earrings draws the attention upward. If you use a long, flamboyant necklace, this elongates the look of the body and draws the eye up and down and provides a visually slimming effect. Dark pants hide any lumps or bumps, and with wearing the shirt out, it can cover a waist band that might not fit so well at the top and provides, again, a visually elongated appearance. The reason any heel works is that when we wear heels, we are forced to walk with our shoulders back, chest up, and head held up. You can't slump in heels! Our carriage and presentation can provide as much appeal as the rest of our appearance. Ever seen someone walk into a room and immediately draw attention? More than likely what attracted your attention is the way they carried and presented themselves, not necessarily flamboyant dress or makeup.... although some people have been known to draw a few gasps with a wild outfit!
As far as hair and makeup, here are the reasons for an updo: Hair that is up and away from our face is more elegant and sophisticated than hair worn down. You can hide a lot of hair flaws with an up-do. It also reveals more of your face, which is important during a social event.
The makeup routine above is fast and simple, and focuses on the main facial elements: Eyes and lips.
This is not the mega routine that's going to make you look like a fashion model. It does, however, bring out your best attributes. I try to keep basic elements around at all times because they're quick to pull together. This method is just a way to be able to get going, have fun, and look fabulous without spending a lot of time.
Now, go out and have a great time!


