Search

Powered by Blogger.

Networked Blogs

Showing posts with label recycle. Show all posts

Monday, July 29, 2013

Homemade Orange Enzyme Cleaner


I had a duh moment, and it involves this orange enzymatic cleaner that's been circulating on Pinterest.  Every once in a while I see an idea, but I drag my feet because the effort doesn't seem like it is worth it.  We finally had a whole bunch of oranges which, of course, generate orange peels, and I decided to give making my own homemade orange enzymatic cleaner a shot.  Reusing something and it's natural. Two bonus points! 

Most of the recipes I had seen were fairly complicated.  Most involved using white vinegar, and some went so far as to add yeast and sugar to this mixture.    I decided to take a different route, using clear ammonia instead, and I was thrilled with the results. 

This stuff cuts grease like nothing I have ever seen.  It's especially great for things like stove tops, vent hoods, and I have also been using as an additive it in my mop bucket to mop my floors.  I thought my floors were clean until I started using this!  You can literally see the dirt start to rise up and separate before you wipe or mop it away.  My mom is so in love with it, that I started her a batch, and she has shared the recipe and great results with others.  Here is my version of this awesome cleaning solution: 

Homemade Orange Enzyme Cleaner

Takes 2 weeks to make but worth it!

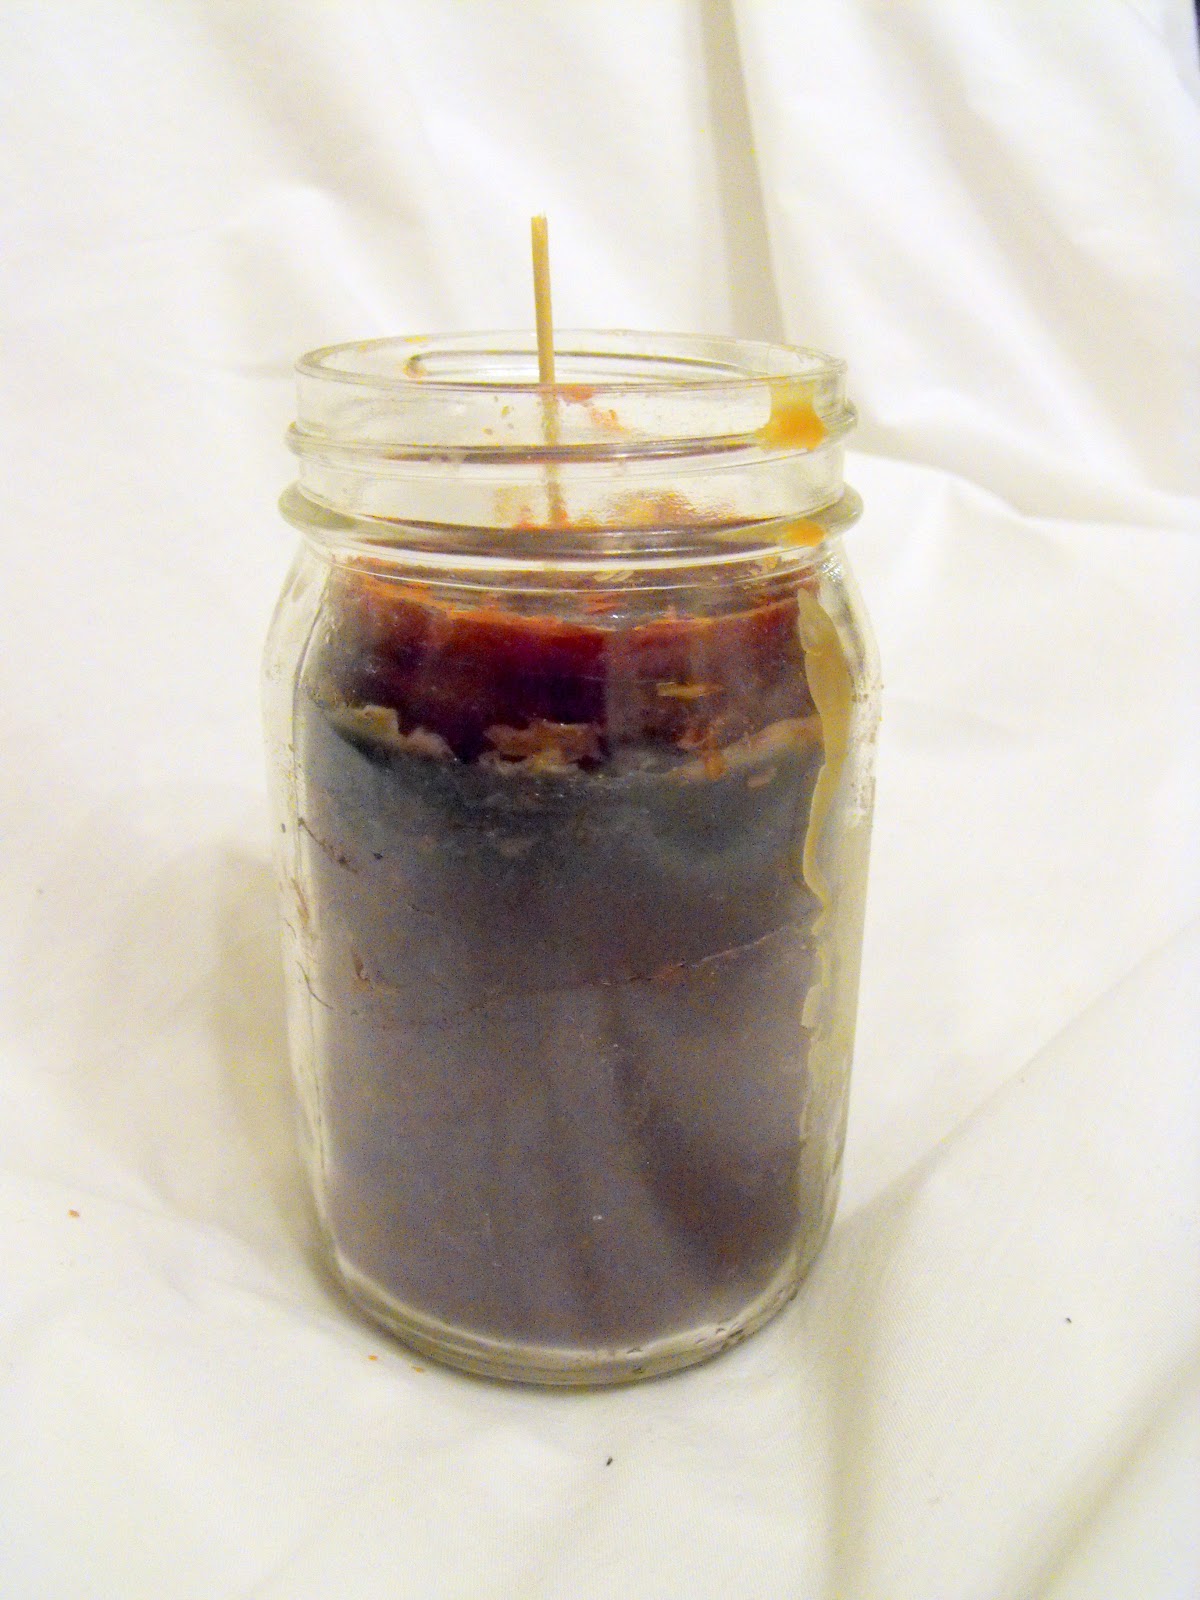
1 empty jar, the larger the better (I use a 1 quart canning jar)
Orange peels enough to fill the jar at least halfway
Clear ammonia

Place orange peels in jar and cover to rim of jar with clear ammonia.  Cap jar and allow to sit in a warm, dark area for 2 weeks.  Then, strain orange peels out and put remaining liquid back in jar.  (The orange peels will be a gelatinous consistency, and the liquid will be the consistency of syrup.  Throw orange peels away.)

To make cleaner:

Use ¼ to ½ cup orange liquid
1 generous squirt of dish soap
Water to fill squirt bottle

To mop floors, in mop bucket use:

Use ½ cup to ¾ cup orange liquid
Generous squirt of dish soap
Fill with water

Mop as usual.  No need to rinse. 

The orange cleaner is *excellent* at cutting grease, especially on stove tops!  Plus, it’s a great way to be “green” when you clean. 

Monday, December 31, 2012

Recycle Used Wax Melts/Tarts into a Candle

If you've joined the craze for the wax warmers such as Scentsy or Pink Zebra or even the ones they have at Walmart, you have probably found scents you love.  However, after the wax scent dissipates, you want to change out the wax, but it seems a waste to just toss it out. 

This is an easy way to reuse the wax, and, believe it or not, the scent is still very much there once it burns.  The great thing about making these candles is that you get a slightly different scent as each layer burns through, and oftentimes it makes interesting scent combinations in the process.

I have different jars started for different scents.  I have one jar that is for the woodsy/spicy/kitchen scents such as Mountain Lodge, pumpkin pie, cinnamon spice, etc., and another that is for flowery/citrusy scents such as lavender, fresh cut grass, lemon, etc.  You can make as many or as few as you want, or even just have one jar into which everything gets dumped.  Whatever you choose, it's a great way to reuse the wax!

To make these you will need:
1 empty jar that is relatively heat safe (a Mason jar is perfect)
1 premade wick with base (I got mine at Hobby Lobby $2.99 for 5 click HERE to see)
Some type of adhesive, such as E6000, Super Glue, etc.
Melted wax
Pen, pencil, or dowel to hold the wick in place and steady while the jar is being filled.

Clean the jar and make sure it is dried.  Put a dab of adhesive on the bottom of the metal premade wick and poke it down into the jar, centering it, and then use a long object to press it to the bottom of the jar to make sure it's adhered.  

Once the wick has set, take the dowel, pencil, or pen, and wind the wick around it a couple of times until the dowel sits flush on top of the jar.  This will hold the wick centered until the jar is filled.  Next, begin pouring the melted wax.  

It's not necessary to do this all at once.  You can stick the jar in an out of the way spot and add to it whenever you change out wax in your warmer or if you've come to the end of a candle and need to pour off the remaining melted wax.  Add to this layer by layer.  

When the wax is to approximately the bottom of the threads on the jar, cut the wick off and trim to approximately 1/2 inch in length.  Now it's ready to use! (The photo below is of another candle made this way with darker wax.)


Wednesday, November 28, 2012

Homemade Wax Melts or Tarts For Wax Warmers


Homemade wax tarts are a fun way to use up all those old bits and pieces of candles left when the wick burns down.  I also recycle my used tarts/wax bars from candle warmers.  

Start by gathering used candles and other bits of wax.  I have a canning jar into which I pour any wax from my wax warmers. For candles, I wait until they are completely burned, and then I have a candle warmer plate that I sit the jar on to melt the wax and pour into this jar.  


 All this wax can then be melted down by placing the jar in a pot and filling the pot part way with water, so that the water comes up the sides of the jar.  Allow wax to melt.  Then use a long plastic knife or spoon to stir the wax and blend scents and colors.  You can purchase wax colors to even out the colors, especially if you have a lot of varied colors.  When I made mine, I just left them as is because at the time I was making a banana bread scent, and they came out a dusty mauve color.  
Once the wax is melted, add extra scent, if needed.  This is in the candle supply aisle of your local craft store.  Blend well.  

Using tongs or a canning jar tongs, lift the jar out and then pour the wax into a regular-size muffin tin or mold.  This is my old, grungy muffin tin that I use for crafts.  Fill about 1/4 to 1/2 inch full. Allow to cool completely.  Once set, place the mold in the freezer for a few minutes, remove the tin, and invert the muffin tin over a plate.  The tarts should pop out. 

Voila! These fit perfectly into the bowl of most wax warmers.  

Store these in a zippered bag or other closed container.  Now you can design your own homemade tarts, with the scents you like best, and reuse your old candles and wax.